6 min to read
Creating a Simple python TelegramBot using Flask and deploying it in heroku.

Writing code for python telegram bot is easy. We add some extra things to integrate with telegram. Follow me you can build a bot easily..
Requirements for PythonTelegramBot :
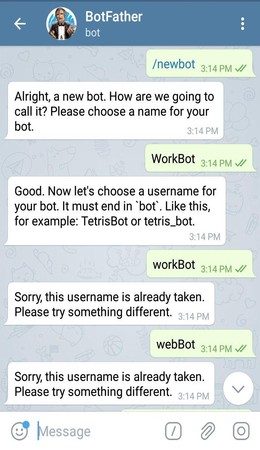
Firstly, get your bot a token and a username. Search for “botfather” in telegram. Now follow the instructions in the BotFather.. This is the link for the official BotFather https://t.me/BotFather
- Rember the username is unique, so if the username is taken, try another one.
- Remember the API_TOKEN is confidential, secure it.
- Else your bot can be controlled by others.


Now we need to install some libraries for getting started
pip3 install telebot
pip3 install python-telegram-bot
Our first program :
Here is the simple bot which echo’s what you sent to it.
  #!/usr/bin/python
  # This is a simple echo bot using the decorator mechanism.
  # It echoes any incoming text messages.

  import telebot

  API_TOKEN = 'Your_API_Token_Here'

  bot = telebot.TeleBot(API_TOKEN)


  # Handle '/start' and '/help'
  @bot.message_handler(commands=['help', 'start'])
  def send_welcome(message):
  bot.reply_to(message, "\nHi there, I am EchoBot.\nI am here to echo your words.
  Just send anything  and I'll send the same thing to you!\n")


  # Handle all other messages with content_type 'text' (content_types defaults to ['text'])
  @bot.message_handler(func=lambda message: True)
  def echo_message(message):
  bot.reply_to(message, message.text)

  bot.polling()
Now run the code by
python3 file_name.py
This is a simple echo bot. What ever the message you send to it, it sends you the same message.
- Below are some predefined commands for our bot, so with out typing the whole sentence we can just type the command for the output.
@bot.message_handler(commands=['help', 'start'])Below this we should write the function that should be executed when the command is sent.
Till now we have written a simple program.
Deploying PythonTelegramBot in Heroku
For deploying our bot we will use Flask, because for contacting bot we use webhooks method. So, to install flask use,
pip3 install flask
After installing we should change our code a little bit so as to work with flask.
  server = Flask(__name__)
  PORT = int(os.environ.get('PORT', '8443'))
Use the below code at the end of the application.
@server.route('/' + API_TOKEN, methods=['POST'])
  def getMessage():
      bot.process_new_updates([telebot.types.Update.de_json(request.stream.read().decode("utf-8"))])
      return "!", 200


  @server.route("/")
  def webhook():
      bot.remove_webhook()
      bot.set_webhook(url='Your_App_Name_Link_Here' + API_TOKEN)
      return "!", 200


  if __name__ == "__main__":
  server.run(host="0.0.0.0", port=int(os.environ.get('PORT', 5000)))
After this the final code looks like
  #!/usr/bin/python
  # This is a simple echo bot using the decorator mechanism.
  # It echoes any incoming text messages.

  import telebot
  from flask import Flask, request
  import os
  API_TOKEN = 'Your_API_Token_Here'

  bot = telebot.TeleBot(API_TOKEN)
  server = Flask(__name__)
  PORT = int(os.environ.get('PORT', '8443'))

  # Handle '/start' and '/help'
  @bot.message_handler(commands=['help', 'start'])
  def send_welcome(message):
  bot.reply_to(message, "\nHi there, I am EchoBot.\nI am here to echo your words.
  Just send anything  and I'll send the same thing to you!\n")


  # Handle all other messages with content_type 'text' (content_types defaults to ['text'])
  @bot.message_handler(func=lambda message: True)
  def echo_message(message):
  bot.reply_to(message, message.text)


  @server.route('/' + API_TOKEN, methods=['POST'])
  def getMessage():
      bot.process_new_updates([telebot.types.Update.de_json(request.stream.read().decode("utf-8"))])
      return "!", 200


  @server.route("/")
  def webhook():
      bot.remove_webhook()
      bot.set_webhook(url='Your_App_Name_Link_Here' + API_TOKEN)
      return "!", 200


  if __name__ == "__main__":
  server.run(host="0.0.0.0", port=int(os.environ.get('PORT', 5000)))
Now, we need the libraries that are used for this bot. So to get the librares use
pip3 freeze requirements.txt
You can see the libraries in “requirements.txt”. Don’t remove the libraries that you don’t know as they are dependent libraries. Now we should create a “Procfile” and type this code in that file
web: python3 file_name.py
Don’t change name of “requirements.txt” and “Procfile”(‘P’ is capital).
Now, open github and create your repository, after that upload your file_name.py,requirements.txt and Procfile to github.
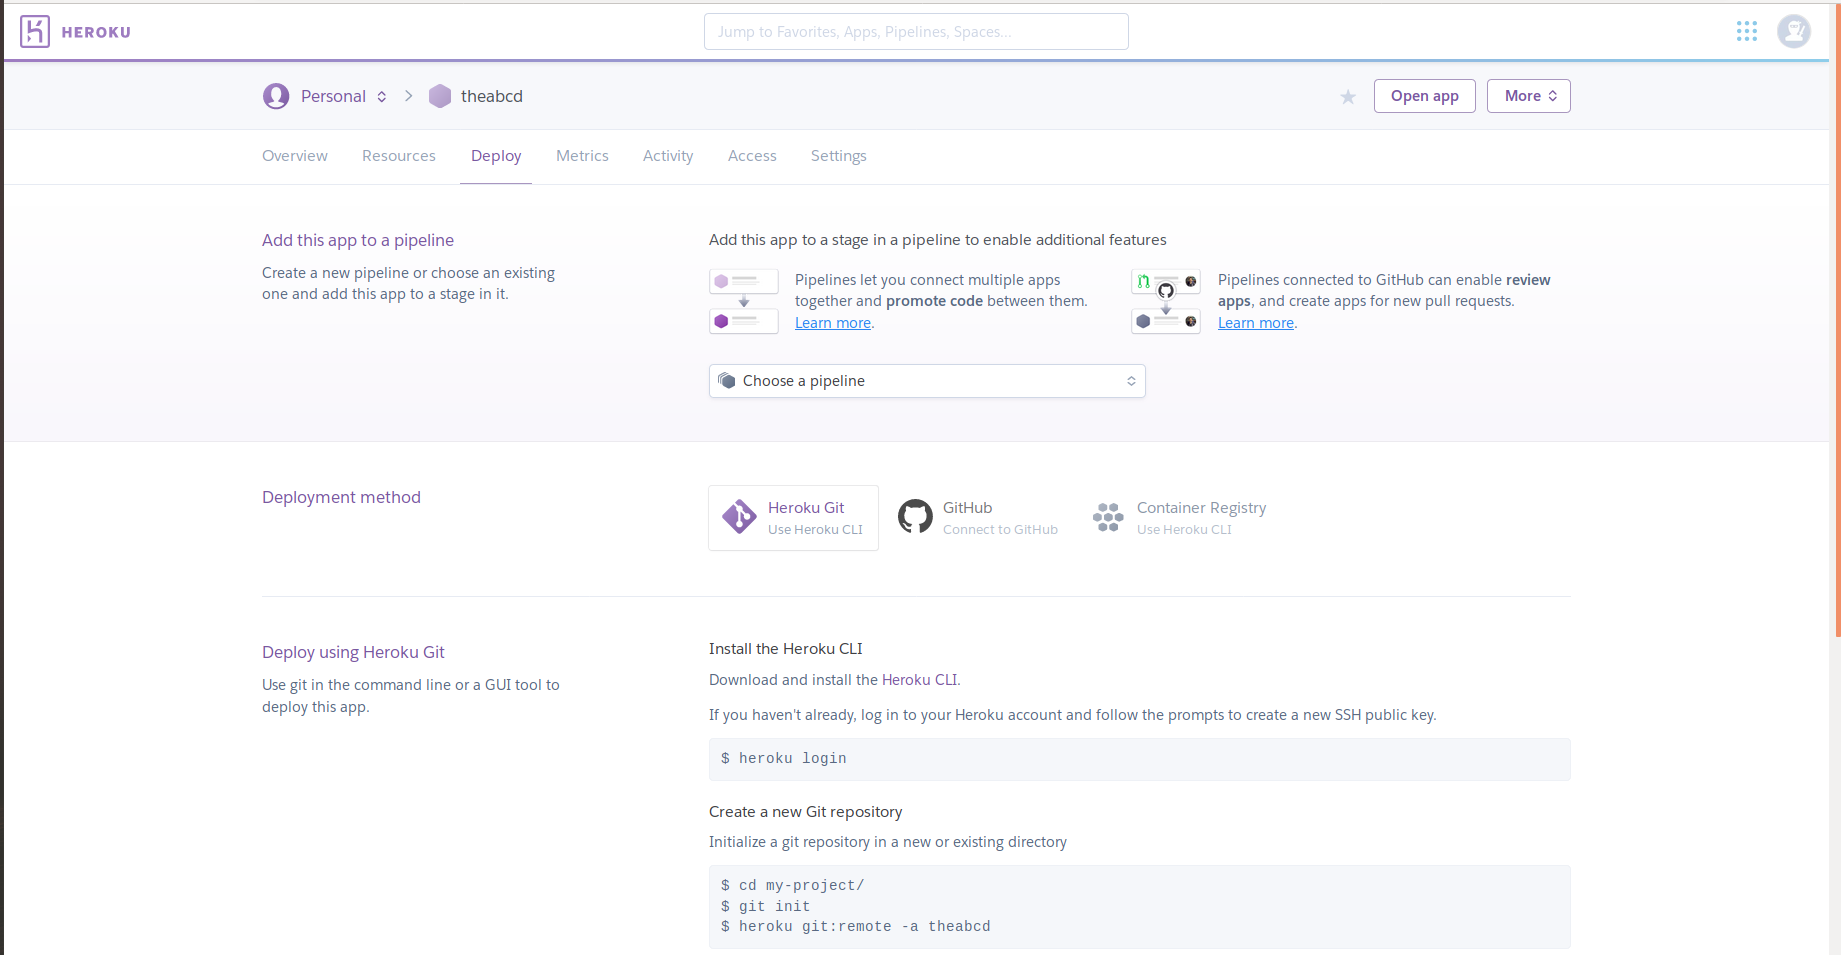
Signup/Signin to heroku and Create a new app.
 Now, go to the Deploy section and now connect to github, then after type your repository name and connect it.

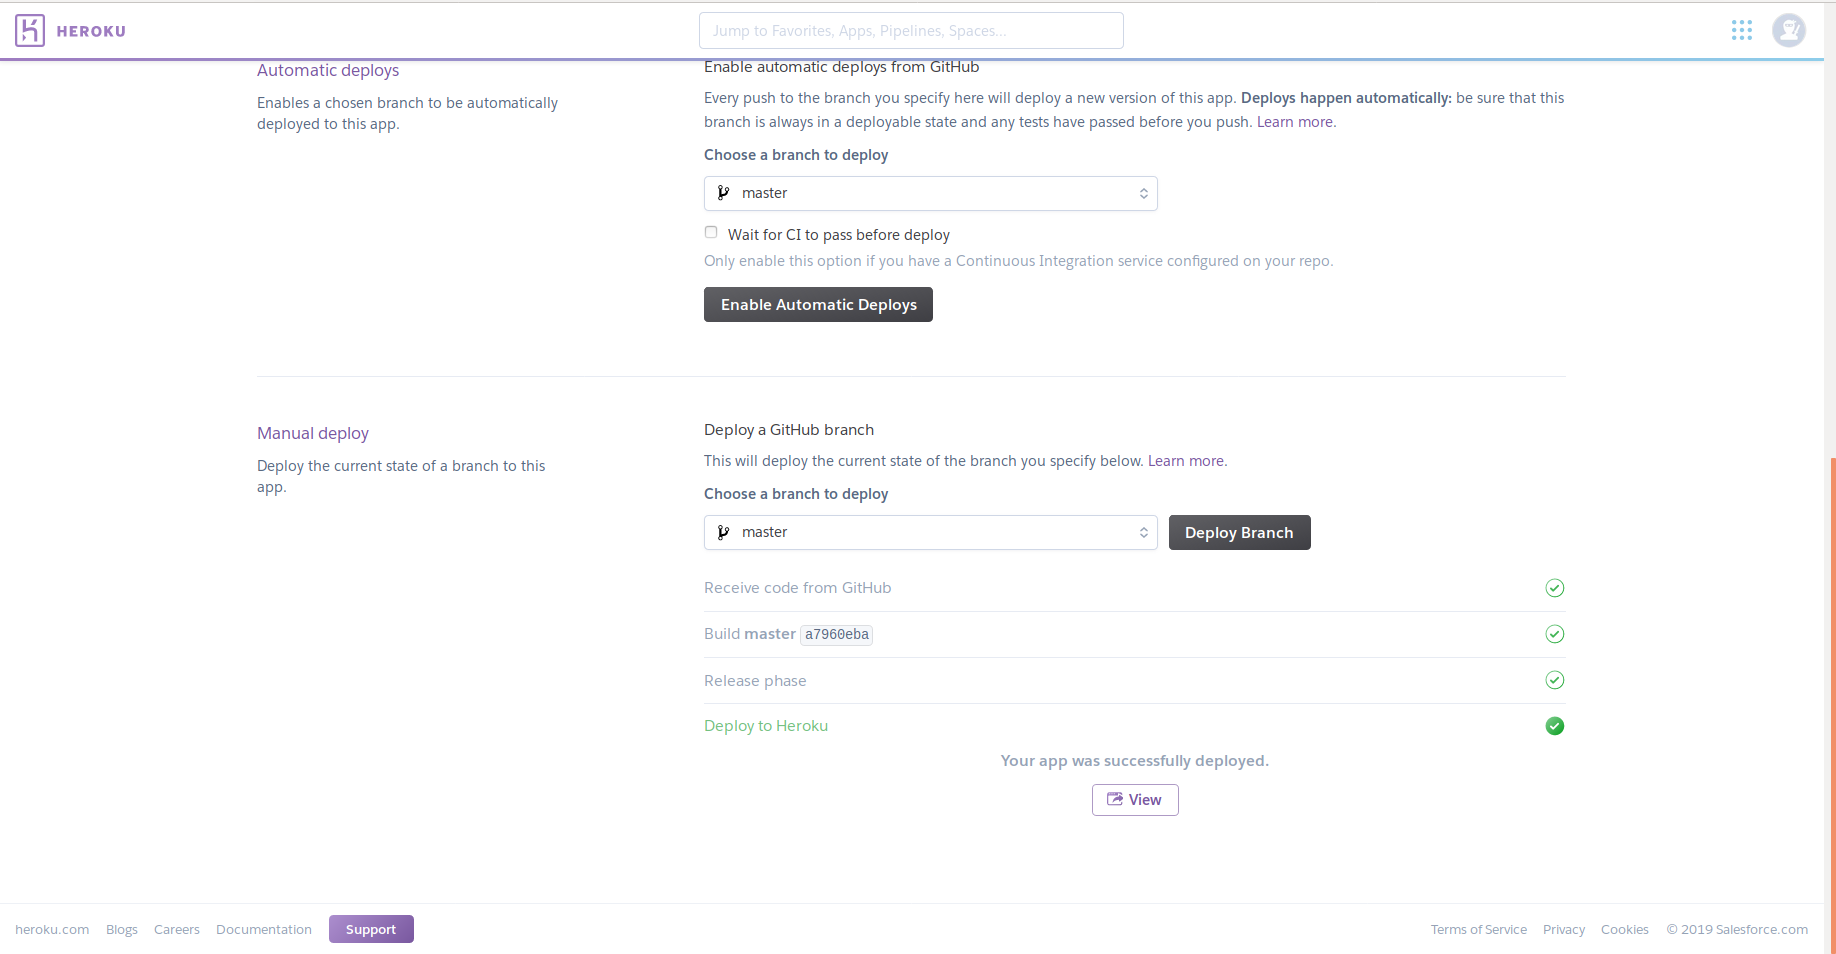
Every thing is done. You are set to go Now press come down and press deploy branch. After successfull deployment you can use your bot. You can get your app name from settings section in heroku.

Comments